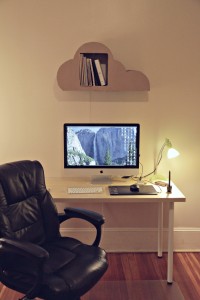
I recently made a bookshelf out of cardboard. When I told people I was working on it they looked confused, but the bookshelf is surprisingly strong and has no problem holding up to the weight I’ve put it under so far.
You'll need:
- scissor
- craft knife (you’ll use this the most, and helps to have an extra blade)
- pencil
- Gorilla Glue
- design (use mine, or better yet, make your own)
- cardboard
- mounting hardware

In total, this probably took about 16 hours to complete, but I did it very casually over several nights so it didn’t seem that long. One way to cut down on time, would be to choose a more simple design than a cloud shape.
The curves of the cloud took the longest to cut. So if you eliminate that, it would go much faster, but I was really set on a cloud and am glad I followed through with it, because now I have a one-of-a-kind bookshelf for only $8.
[su_heading size=”14″]STEP 1. Cut out all the pieces[/su_heading]
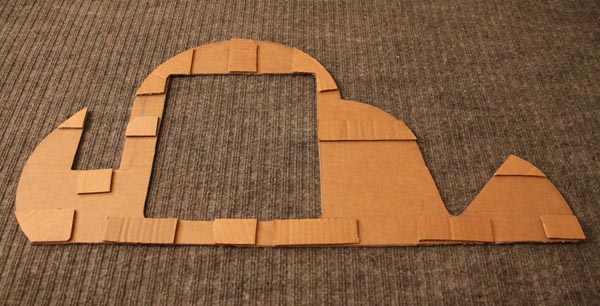
I judged the depth of the bookshelf based off of some books I had laying around and I figured that, with the dividers sandwiched between each piece, I would need around 23 cloud shape pieces.
20 of those are the interior shaped pieces, so they allow for those extra pockets. I only cut 3 cloud shape pieces that make up the bread of the big sandwich you’ll be making. One of them is against the wall, and two come out of the front that helps maintain the cloud silhouette.
The dividers took the most time to cut, maybe I went overboard on them, but it worked. The dividers are just a way to easily double the depth of the bookshelf without using up a lot more cardboard.
[su_heading size=”14″]STEP 2. Glue it all together[/su_heading]
The first round of gluing I was only able to glue about 3 or 4 cloud pieces (with the dividers between each) at a time before I need to put pressure on them for the glue to set up. Once all the pieces were glued in these sets of 3 or 4 then I just glued those sets together until I was done.
Only use a little dot because Gorilla Glue expands in size 4x when it’s drying and you’ll have it come spilling out of the sides if you use too much and will look and be very messy. Also, have a wet paper towel to moisten one side of cardboard that you are gluing the other on to.
[su_heading size=”14″]STEP 3. Mount the bookshelf[/su_heading]
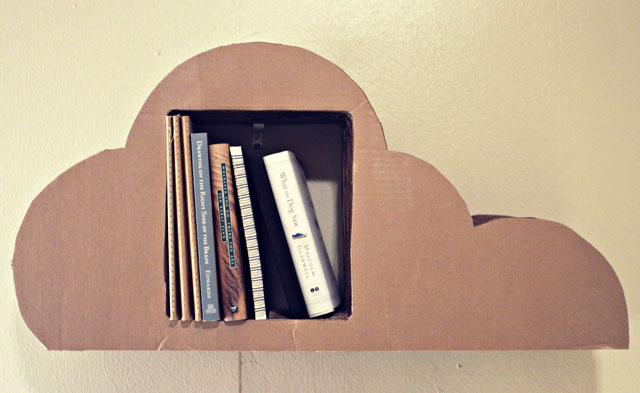
The best thing about the design I made was that it allows for the bookshelf to be hung, without need to mount anything at the bottom of the shelf. If you mount it from the bottom, it’s likely to just tip over and off of the wall, but hanging it from the interior square works great.
I used two nails, one in each corner on the inside of the square of the design to hang it from, and one spare curtain rod holder I had laying around to take most of the weight in the middle of the square.
[su_heading size=”14″]DONE[/su_heading]
I hope that made sense. I really enjoyed this project and it felt good to get so much use out of cardboard that would be recycled anyways.
If you do this project I’d love to see photos of how it turned out so let me know in the comments below, or if you have any questions as well. Good luck!


Why don’t you paint the front and sides as clouds and sky? Also rather than have the sides as exposed ends of cardboard why not cover them with a layer of thinner card which is also painted.
You could totally do all that stuff. I just like the look of the cardboard.
I think this an awesome idea and I’m trying it now I hope it turns good thanks xoxo
Can you make one for me by Wednesday please
I’m going to assume you’re joking 😉
love your idea so much, it is inexpensive and gives me work to do during this summer !!